New Project: How to assemble fabric squares using fusible interfacing
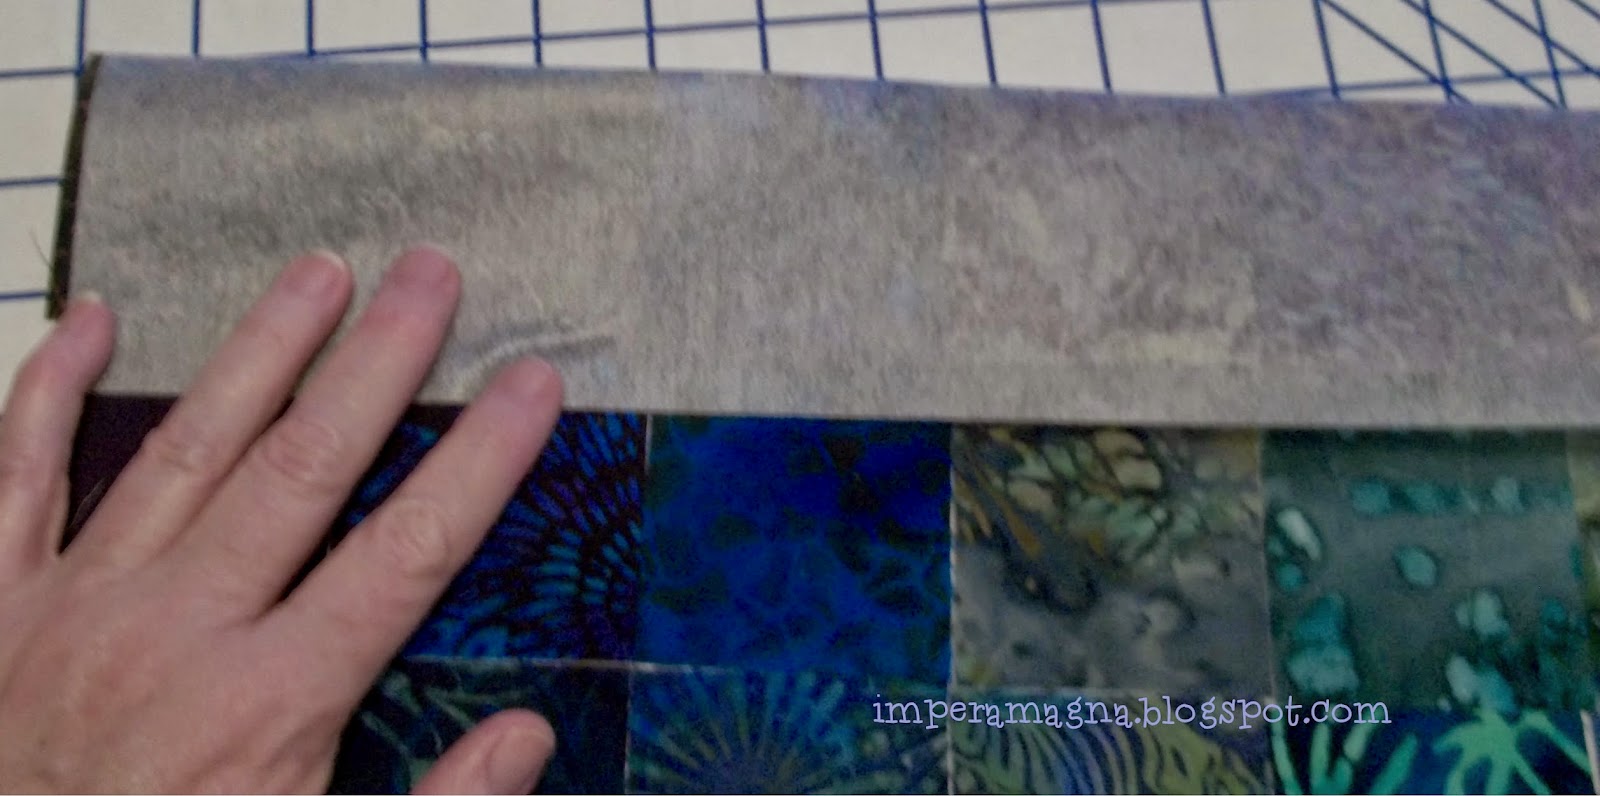
Since a blogging buddy asked, I thought I'd take photos of the process of sewing the interfaced 2.5" squares of batiks. Starting with one section of the project...
...fold over one row of squares.
Sew a quarter-inch seam along the folded edge.
Next fold over the second intersection of squares and sew a quarter-inch seam.
Repeat until all intersections are sewn in one direction.
Now, snip the seam at the location of each intersection of squares going in the other direction. This will allow you to alternate seams to reduce bulk.
Fold fabric along one intersection and sew a quarter-inch seam, alternating the seams.
Continue to fold and sew intersections until all are completed.
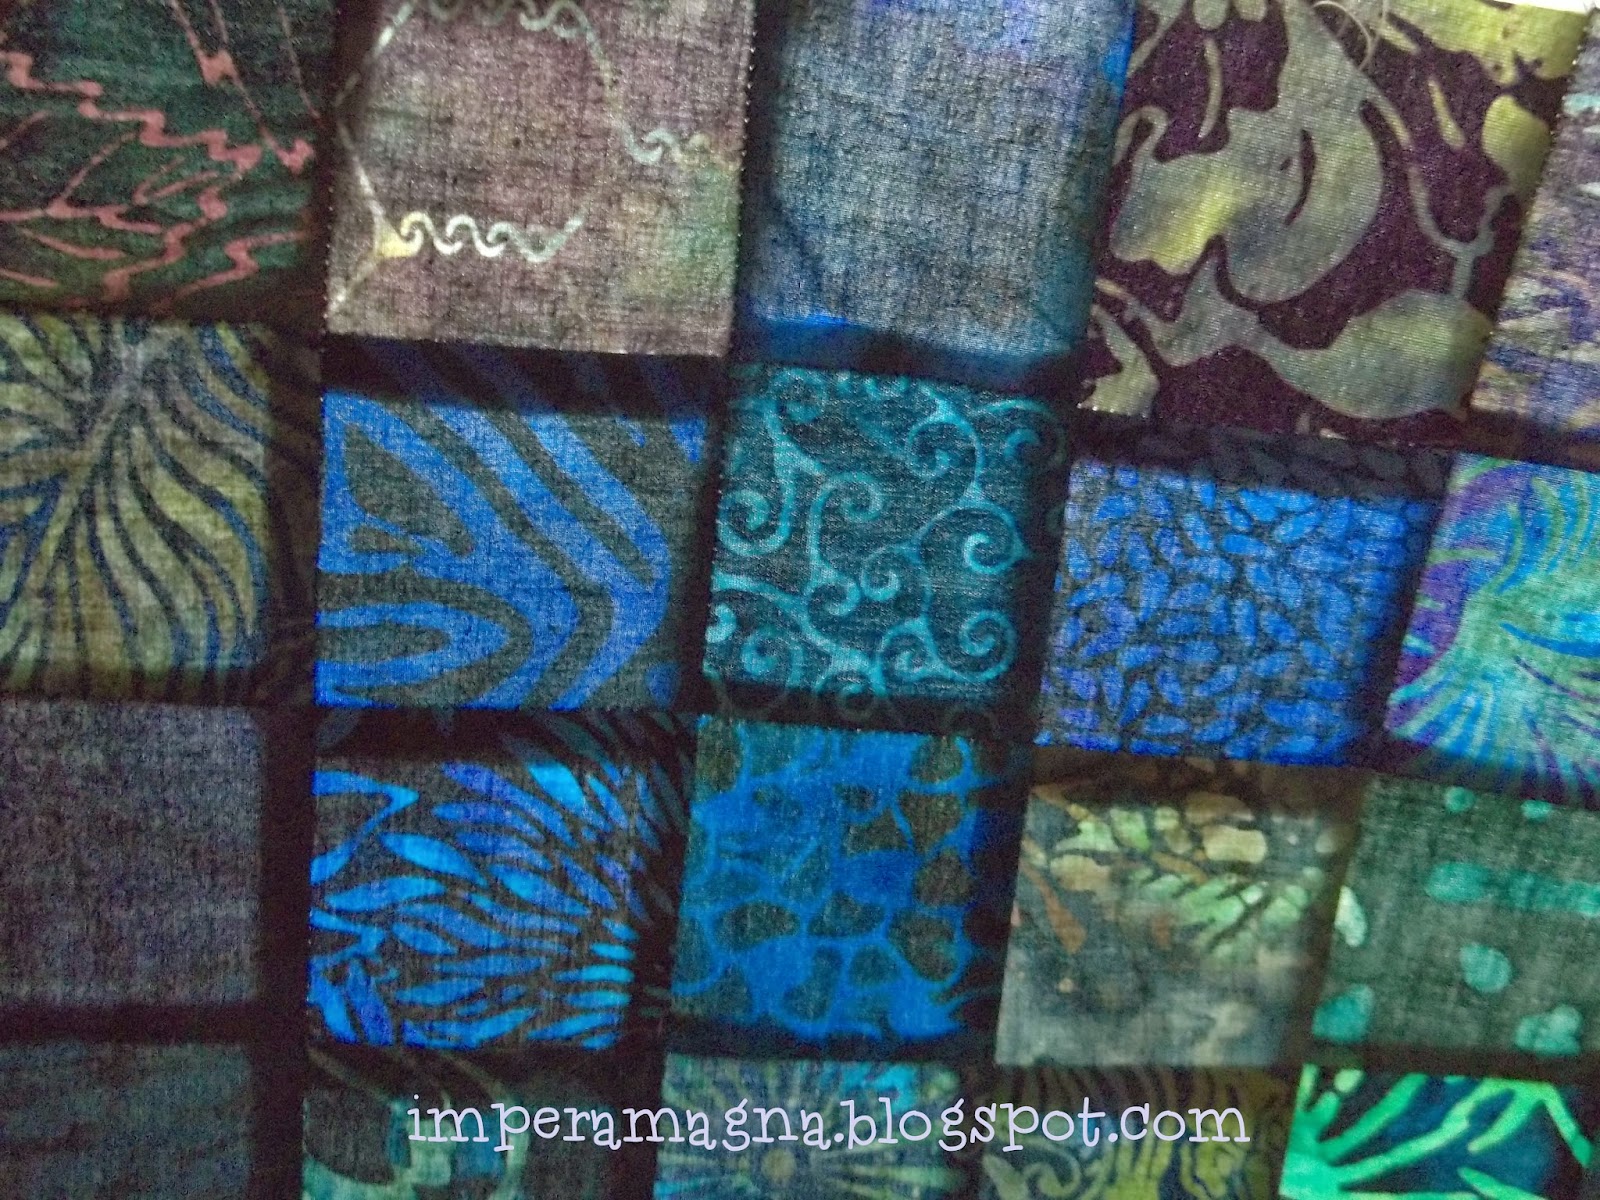
Press from the right side... or from the back using a pressing cloth.
And that's how it's done! Sun shining behind the pressed section makes it look like stained glass, yes?


Super tutorial.....you got it figured out! So proud to see this one.
ReplyDeleteLooks great, Freda! :o)
ReplyDeleteDid the pressing take out the adhesive sheet? Did you flip the seams while sewing or pin them? How much trouble was it to iron the little squares to the pelon? I have such a small ironing board, I don't think I could use this method.... but it sure worked out nicely for you. Your flimsy is gorgeous, and Yes it does look like stained glass.
ReplyDeleteHugs