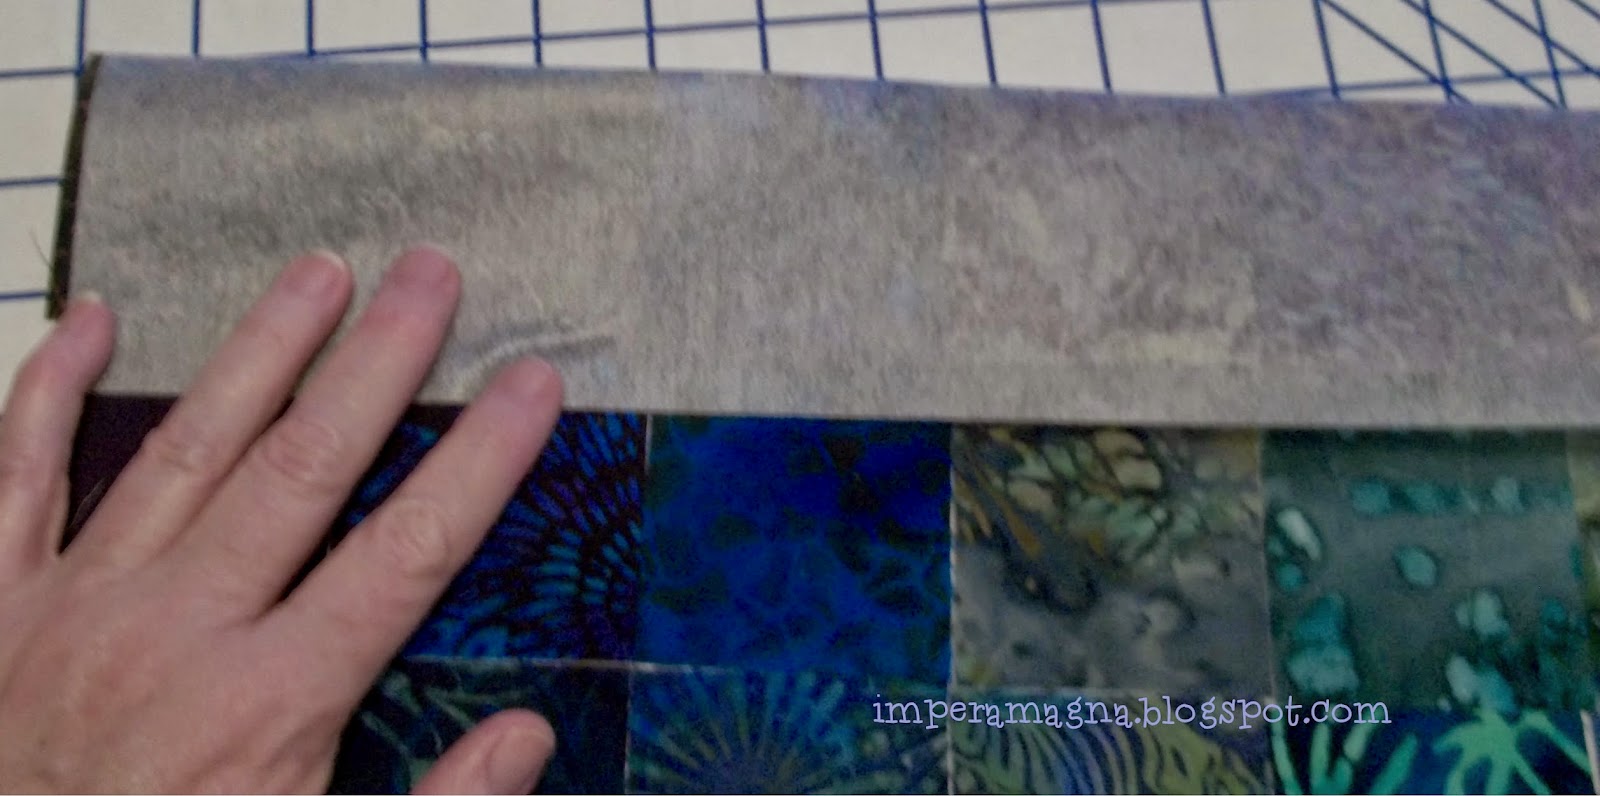
Since a blogging buddy asked, I thought I'd take photos of the process of sewing the interfaced 2.5" squares of batiks. Starting with one section of the project...
...fold over one row of squares.
Sew a quarter-inch seam along the folded edge.
Next fold over the second intersection of squares and sew a quarter-inch seam.
Repeat until all intersections are sewn in one direction.
Now, snip the seam at the location of each intersection of squares going in the other direction. This will allow you to alternate seams to reduce bulk.
Fold fabric along one intersection and sew a quarter-inch seam, alternating the seams.
Continue to fold and sew intersections until all are completed.
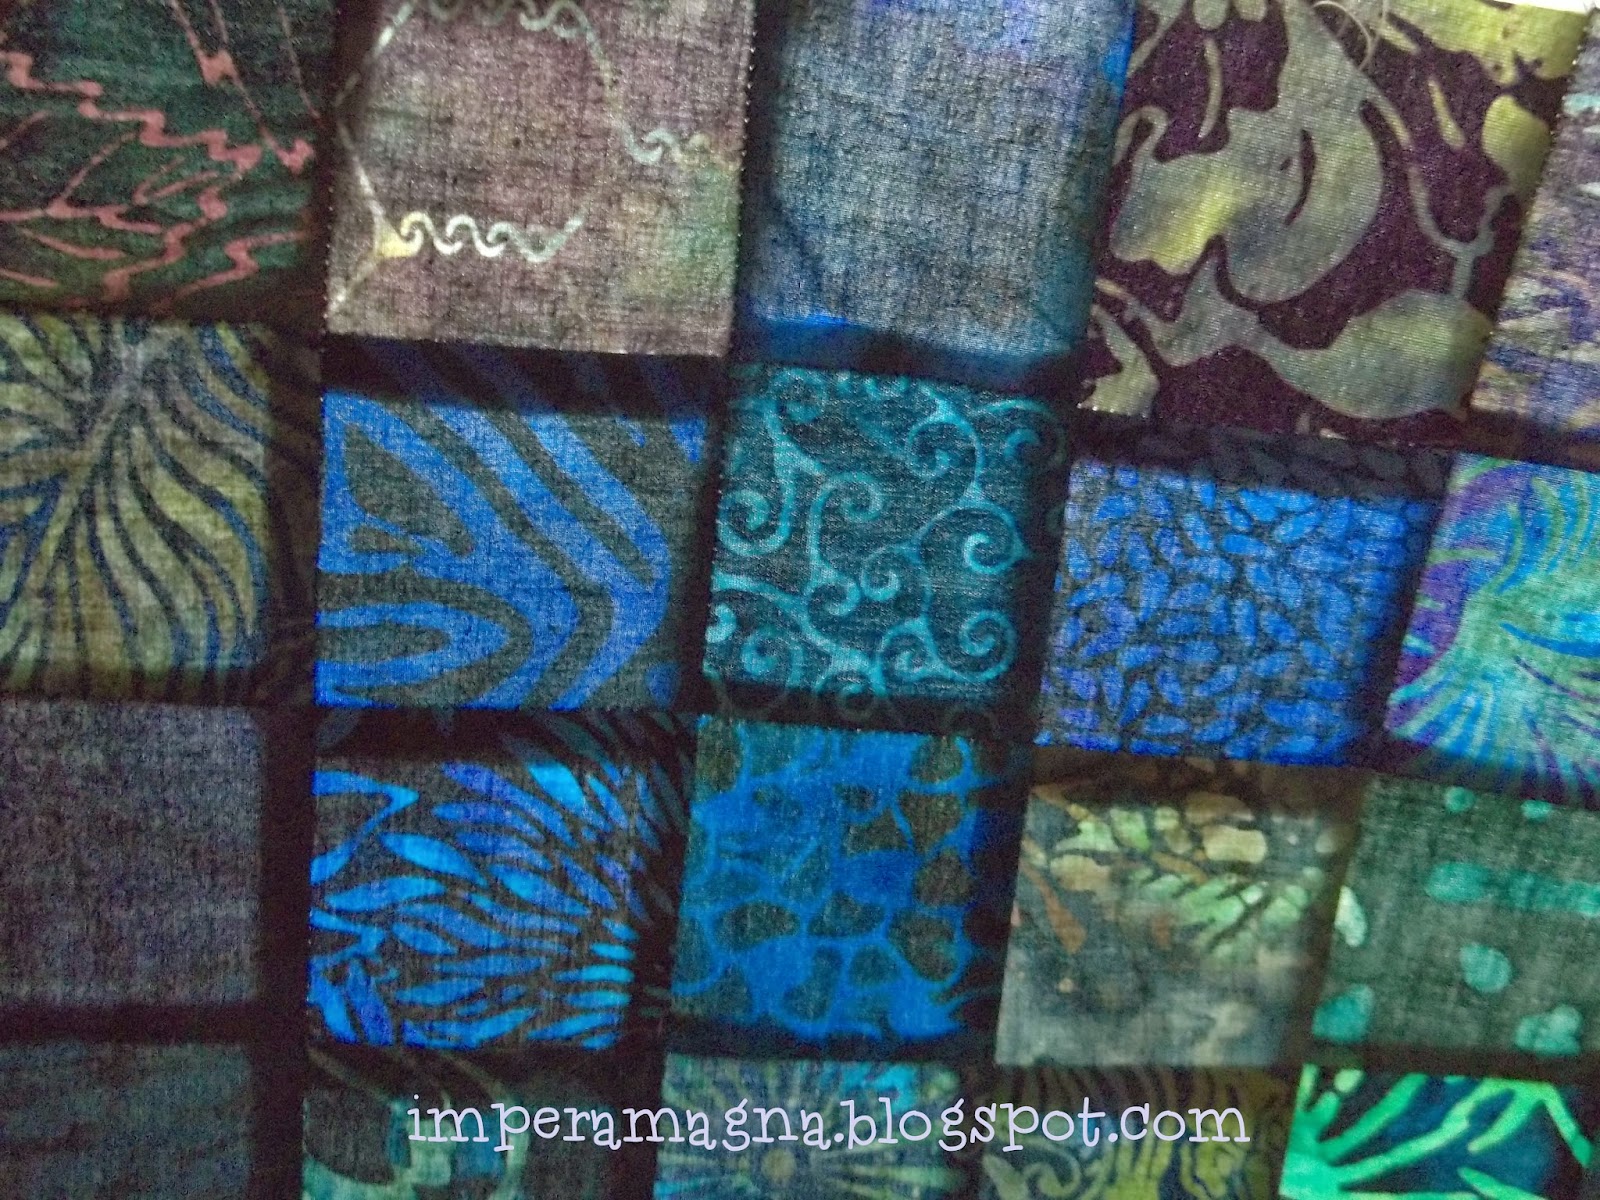
Press from the right side... or from the back using a pressing cloth.
And that's how it's done! Sun shining behind the pressed section makes it look like stained glass, yes?
In an email, Debbie of Stitchin' Therapy (link) asked if I was going to use fusible interfacing for the wall hanging project.
At first, I didn't understand... and then the light went on! Nope, not just a light... but an entire stadium full o' lights!
I had used a pattern to make Midi tote bags (link) that used printed fusible interfacing to speed up piecing of the fabric squares.
Thank you for the timely reminder, Debbie!!!
I needed more fusible interfacing than I had on hand so picked some up yesterday. Then, I got to work...
I used a length of the interfacing the width of the hanging and got all the squares ironed on. It was neat that the ironed on squares stayed when hanging over the edge of the ironing board.
Now... I'm ready to start stitching! This is going to be sooooo much easier than piecing one square at a time.
Did I say THANK YOU yet, Debbie???
A friend's birthday is today and I wanted to make a little something for her. I found a cool tutorial to make a sewing caddy/pin cushion (link) on the Blue Patch Quilter's blog and thought I give it try.
When filling the caddy, I put steel wool at the top to help keep pins & needles sharp... and I made a bean bag to put in the bottom to give it a little weight. I think it turned out nicely...