Using the fuse-squares-to-interfacing method of assembling a top certainly makes the job go more quickly... especially since it was important to have the right square of fabric in the correct location.
It's amazing how much "shrinkage" you get after sewing 10 seams across the width.
After finishing all three sections, I match seams and sewed the sections together.
Now to get this sandwiched and quilted!
Since a blogging buddy asked, I thought I'd take photos of the process of sewing the interfaced 2.5" squares of batiks. Starting with one section of the project...
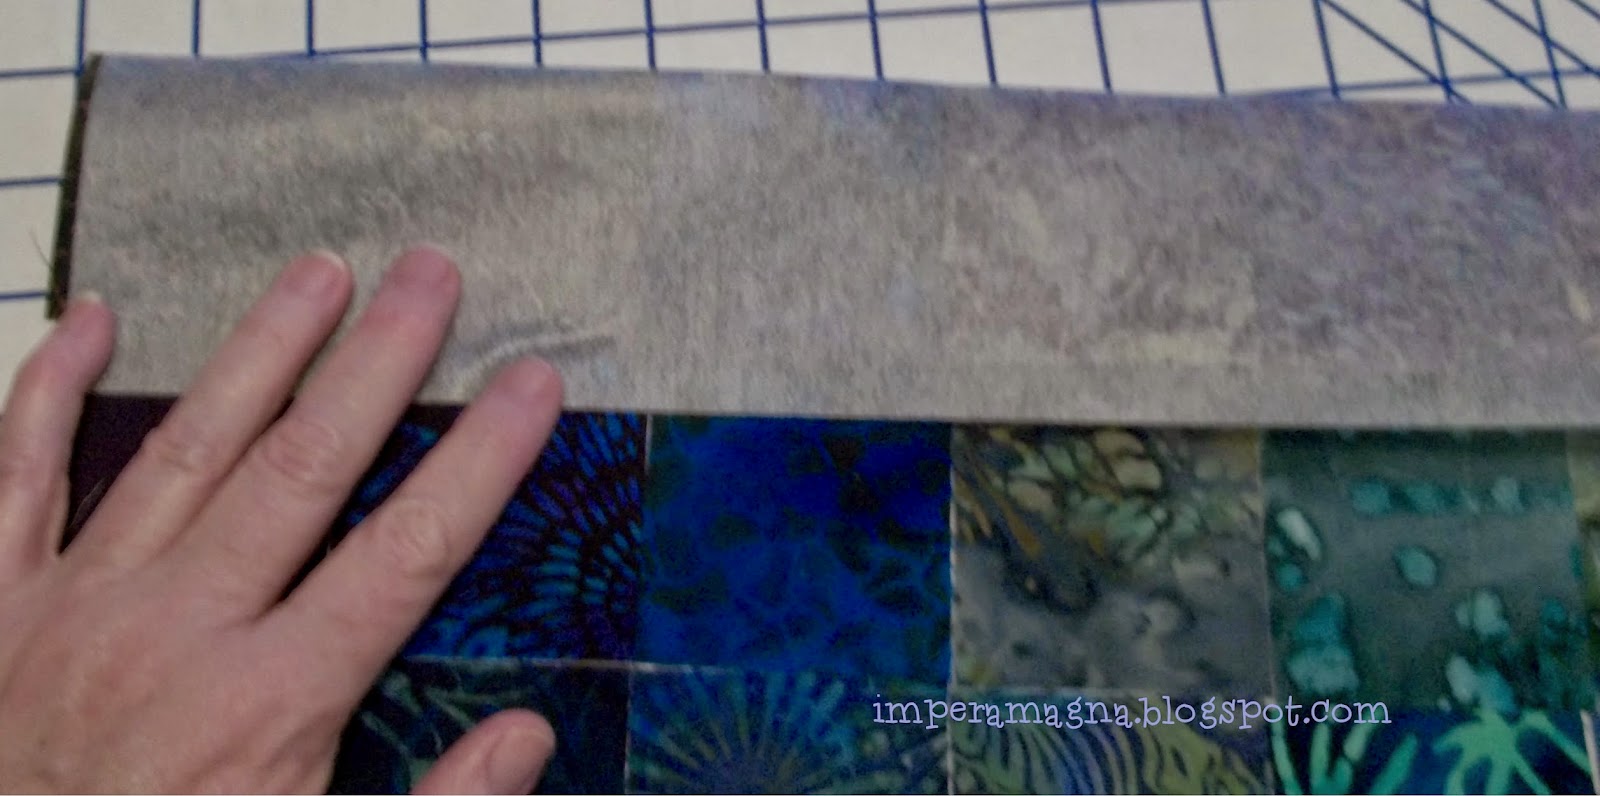
...fold over one row of squares.
Sew a quarter-inch seam along the folded edge.
Next fold over the second intersection of squares and sew a quarter-inch seam.
Repeat until all intersections are sewn in one direction.
Now, snip the seam at the location of each intersection of squares going in the other direction. This will allow you to alternate seams to reduce bulk.
Fold fabric along one intersection and sew a quarter-inch seam, alternating the seams.
Continue to fold and sew intersections until all are completed.
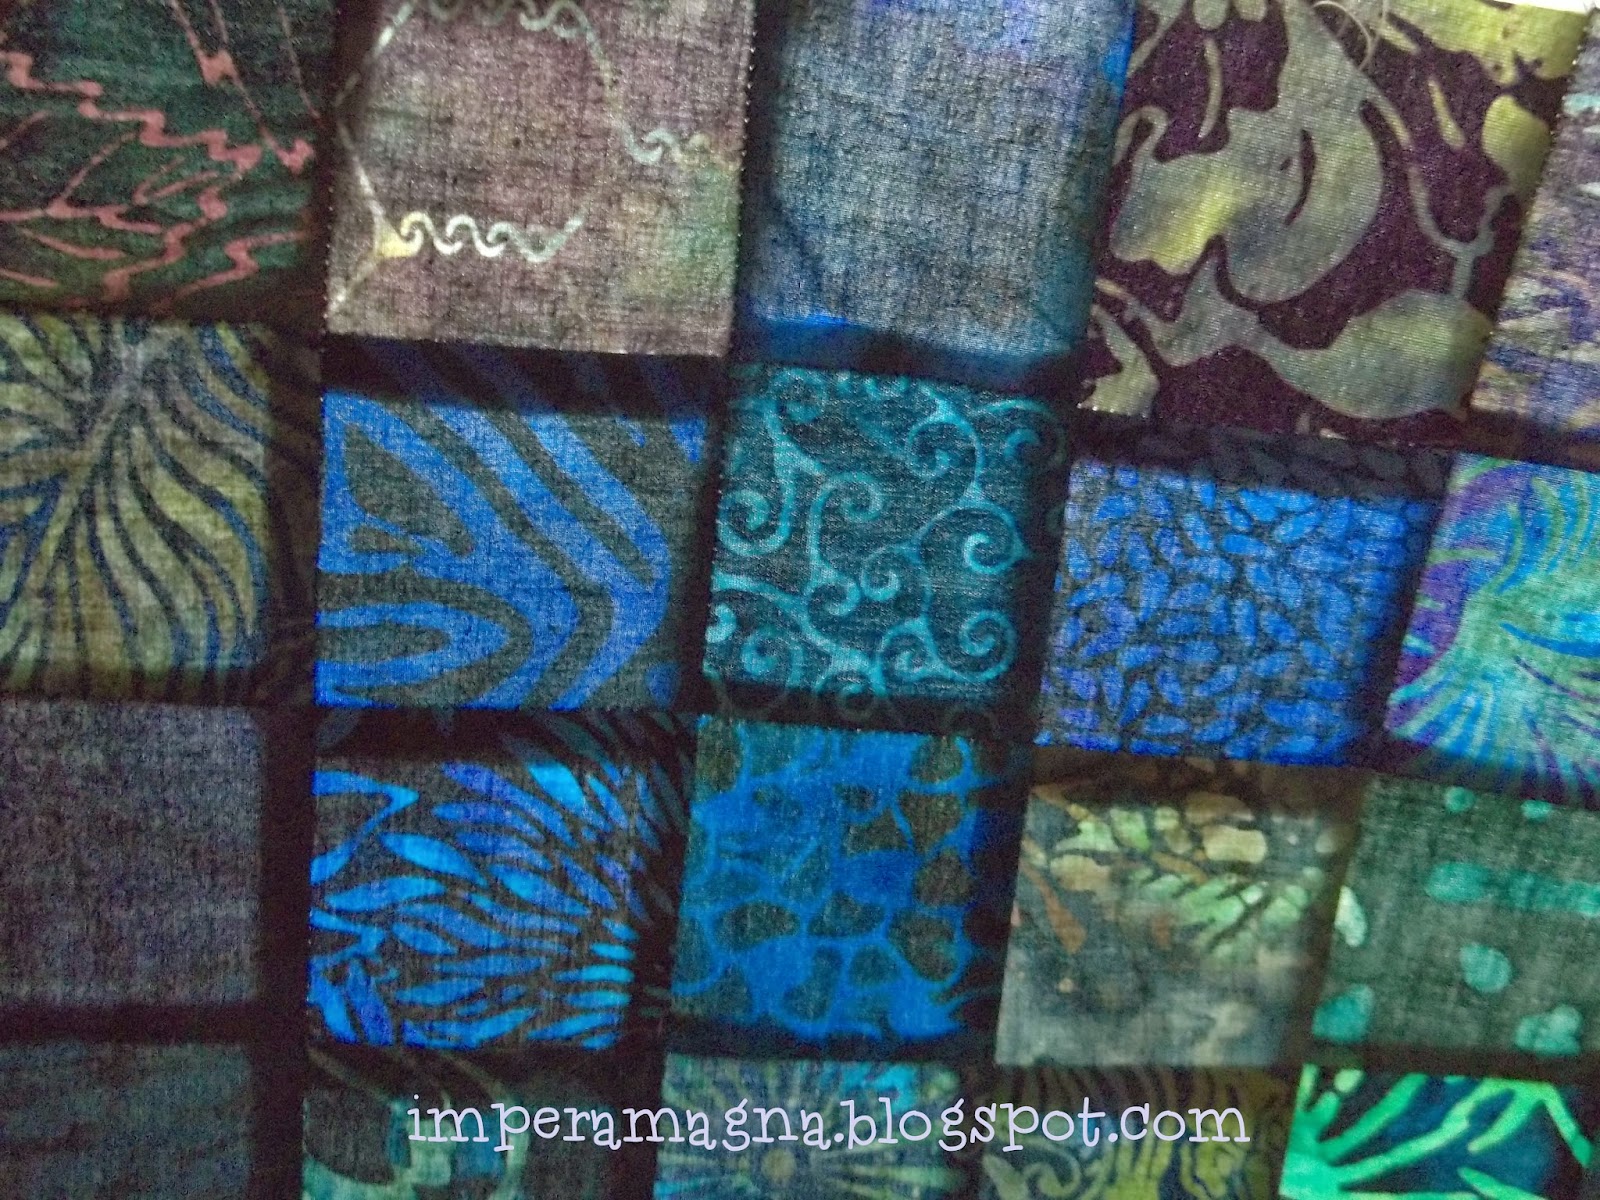
Press from the right side... or from the back using a pressing cloth.
And that's how it's done! Sun shining behind the pressed section makes it look like stained glass, yes?
In an email, Debbie of Stitchin' Therapy (link) asked if I was going to use fusible interfacing for the wall hanging project.
At first, I didn't understand... and then the light went on! Nope, not just a light... but an entire stadium full o' lights!
I had used a pattern to make Midi tote bags (link) that used printed fusible interfacing to speed up piecing of the fabric squares.
Thank you for the timely reminder, Debbie!!!
I needed more fusible interfacing than I had on hand so picked some up yesterday. Then, I got to work...
I used a length of the interfacing the width of the hanging and got all the squares ironed on. It was neat that the ironed on squares stayed when hanging over the edge of the ironing board.
Now... I'm ready to start stitching! This is going to be sooooo much easier than piecing one square at a time.
Did I say THANK YOU yet, Debbie???
A friend's birthday is today and I wanted to make a little something for her. I found a cool tutorial to make a sewing caddy/pin cushion (link) on the Blue Patch Quilter's blog and thought I give it try.
When filling the caddy, I put steel wool at the top to help keep pins & needles sharp... and I made a bean bag to put in the bottom to give it a little weight. I think it turned out nicely...
This morning, I finished UFO #2, which is now in the wash and will soon be all soft and crinkly.
I even drug the finished quilt out into the yard for a photo shoot... however, the photos aren't all that better than the ones I take inside.
One good thing about having a bunch o' UFOs to finish is that one gets lots of practice quilting. This is the first quilt I can say that I think I'm getting better! Perfect? No... but no one will notice anything once it's out of the soft and crinkly machines!
For inquiring minds who want to know what's on the back since that was the hold up getting this finished...
Now.... onto UFO #3! Uhm, I can't remember which project is UFO #3... will have to check. *lol*
I am resolved to finish all my UFOs before tackling a new project but sometimes... exceptions can be made IF there is a good reason and I believe I have a very good reason. My son-in-law will graduate from Duke Divinity School in May and I wanted to make something special for him. I've been planning this for a while and now it's time to get moving.
Inspired by Crooked Cobblestones 4 - Cross (link) by quilt artist Wanda Hanson of Exuberant Color, which is way beyond my meager skills, I thought I could do a smaller wall hanging using batik squares in a colorwash rather than cobblestone blocks. I've admired Wanda's colorwash quilts (link) and drooled over Debbie of Stitchin' Therapy's watercolor quilts (link) as well... so I decided to give it a try.
I don't think a single fabric square is in the same position as it was when I first started laying them out. The project is on the dining room table and I squint my eyes to look at it as I pass by. It's amazing how what looks okay one day, the next... one square just screams to be moved the next.
Debbie (Stitchin' Therapy) has a great tutorial all about designing/making a water color quilt (link), which has all kinds of wonderful tips and advice.
One thing I did today after taking the above photo, is to use my photo editor to change it to black and white so I can study the light-to-dark progression...
I'm still quilting on UFO #2 and will continue to play with the fabric squares until the UFO is finished... hopefully in the next week or two. Then I will start sewing these squares together. I have until the end of April to early May to finish this wall hanging. I even have the wood strip to use in the hanging pocket.
See? I have been planning this project for a while...